Are you considering Invisalign treatment to achieve a straighter smile? It’s important to understand the process for getting Invisalign, including potential risks and benefits. Learn more about the procedure and its considerations.
Let’s look at the different stages of Invisalign treatment and what to expect along the way.
Preparing for Your Initial Invisalign Consultation
Before you come in for your initial consultation for Invisalign treatment, there are a few things you can do to prepare for the visit. Here are some tips to help you get ready:
- Collect any dental X-rays and documents: Before your consultation at Tooth Sparkler, make sure to gather any recent dental X-rays or documents if you’ve been to another dentist. Bringing these records with you can assist your orthodontist in evaluating your oral health and determining if Invisalign is a viable option for you.
- Make a list of questions: Take some time to jot down any questions or concerns you may have about the treatment process and bring these with you. This will help you feel more prepared and confident during the consultation and ensure that all of your questions are answered.
- Consider your budget: Invisalign treatment can be an investment in your oral health and confidence, so it’s important to consider your budget before committing to the treatment. During the consultation, you can discuss the cost of Invisalign and any financing options that may be available to you.
Taking these steps before your initial Invisalign consultation can make you feel more confident and prepared for the treatment process. Click here to contact us and book your consultation.
6 Steps to a Confident Smile
Step 1
Your journey to a straighter smile with Invisalign will start with a consultation with one of our trusted Sydney orthodontists. During this consultation, we will thoroughly assess your oral health and determine your suitability for Invisalign treatment. We will check for any signs of decay, gum disease or other issues that must be addressed before we start treatment.
Step 2
Once we determine that you are a suitable candidate for Invisalign, the next step will be to take a full set of photos, relevant radiographs and a digital scan of your teeth and bite using the iTero scanner. This process will allow us to create a 3D image of your teeth and plan your treatment.
Step 3
After the digital scan, we send the images to Invisalign to set up your case. They will create a digital simulation of your teeth called a Clincheck, which will show how your teeth will move over the course of treatment and what the result will look like.
Step 4
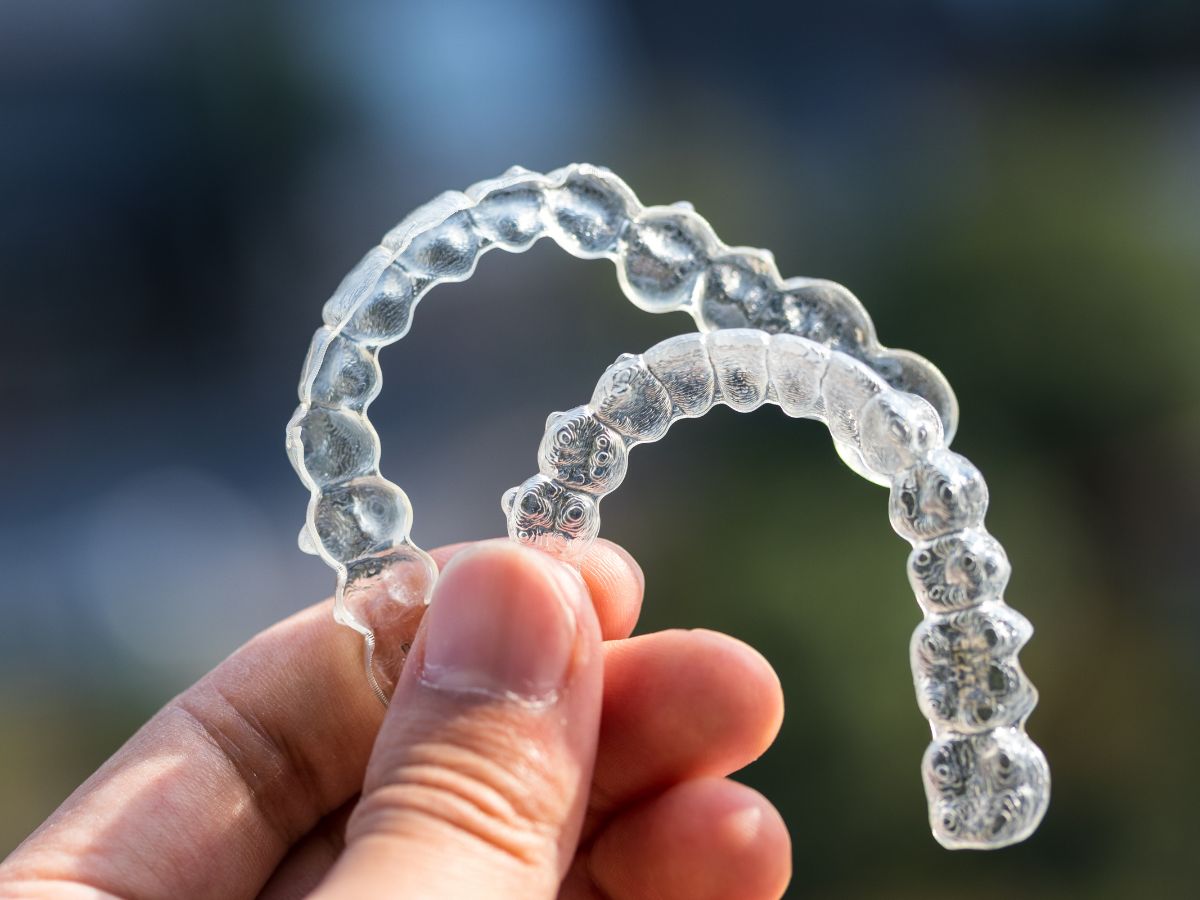
Once the simulation has been approved, the clear aligners are printed and shipped to us. We then issue them to you and may need to place composite buttons on your teeth to help the aligners fit more securely. Sometimes, we may also need to file down areas between your teeth so that the aligners fit together properly.
Step 5
Once the aligners are fitted, you must wear them for at least 22 hours daily. This is essential for the success of the treatment, as your teeth will not move if you do not wear the aligners as instructed. Read more about how to care for your Invisalign aligners.
Step 6
After completing the Invisalign treatment, we will attach tiny wires called retainers to the back of your teeth and provide you with clear retainers to wear at night. These retainers will help maintain the position of your straightened teeth and prevent them from shifting back to their original positions. By wearing the retainers as directed, you can enjoy your beautiful new smile for years to come.
Whitening Your Teeth After Invisalign
Once your Invisalign treatment has ended, you may want to further enhance your smile by whitening your teeth. If you’re looking for professional teeth whitening in Sydney, we can help you remove stains and brighten your teeth, leaving you with a more radiant smile.
Tooth Sparkler offers a safe and non-invasive solution to teeth whitening through our take-home treatment. Our customised mouth tray allows you to apply the whitening product at your convenience for a few minutes each day for up to two weeks. This will result in a brighter and whiter appearance to your teeth.
Take-home whitening treatments offer several benefits, including the ability to control the level of white achieved, maximum contact between the whitening product and teeth due to the custom-fitted mouth trays, and minimal contact with the gum tissue. This method is also more affordable than many other professional whitening methods. We will evaluate your suitability for take-home teeth whitening during an initial appointment. If you’re finishing your Invisalign treatment with Tooth Sparkler, speak to your orthodontist about adding on teeth whitening.
Remember, the key to success with Invisalign is consistency and commitment to wearing the aligners as directed by your orthodontist. Click here to book an Invisalign consultation in Sydney today.